We did these using the exact same concept as the last pot, but this time we tried to make it easier on our selves. We bought pot bottoms to use as the soil base and used PVC instead of water bottles for the wicking tubes. It made it so much easier, and hopefully will work just as well.
This is one of the pot bottoms. We marked where we would need to drill it out. The X's are where we will put wicking tubes, and the O is where we will put a fill tube. Since this is such a big pot, we decided it would be easier to fill it through a fill tube. We have already cut one of the wicking tube holes.

Making the wicking tubes. PVC pipe with end caps, cut to length. Then drill lots of holes in it for the water to get in to the potting mix.


Here is our soil platform and our wicking tubes.

And here it is all set up. Now we just need to make our fill tube. We measured how long the fill tube would need to be. It will need to come just to the top of the pot once we cut it to length. We are using smaller PVC pipe for the fill tube.


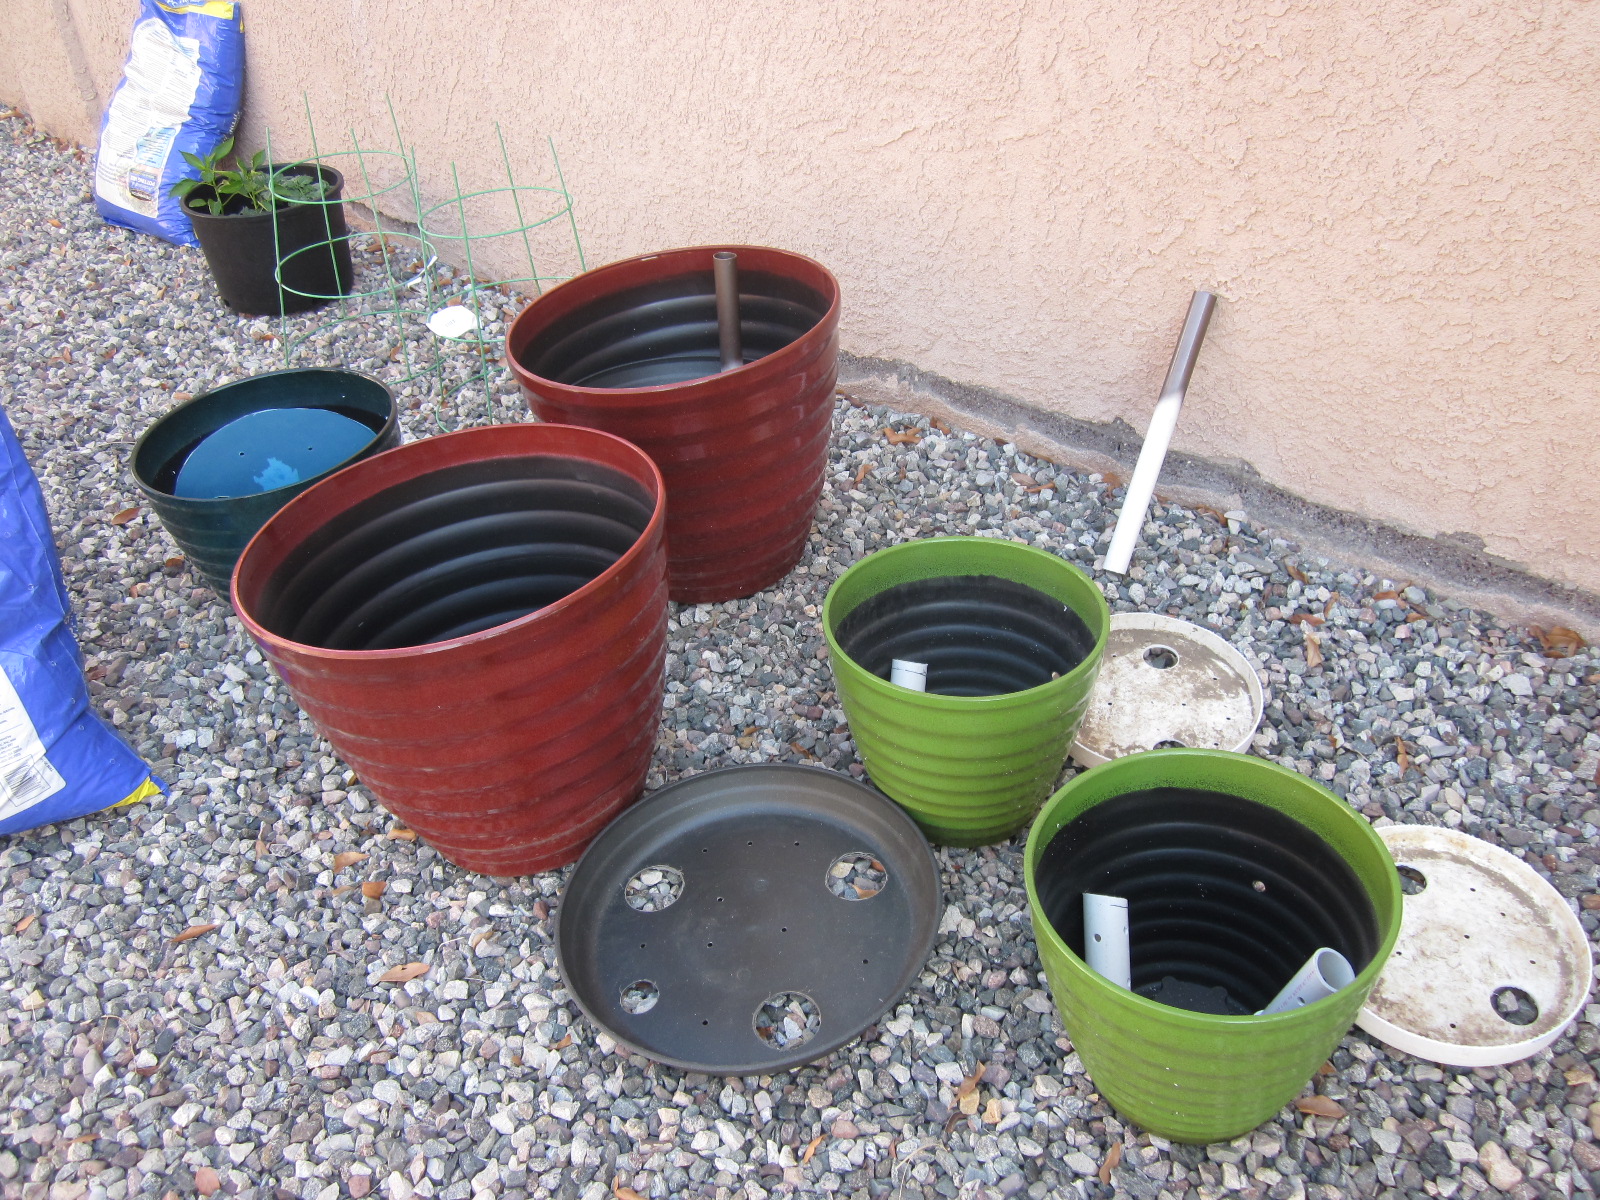
We did this for five more pots in total, making the base for the soil, and all of the wicking tubes. You can see the two fill tubes leaning against the wall in the background. They are for the two large red pots. We painted the top of them so they wouldn't stand out so much once the pots are set up.


The potting mix for the wicking tubes needs to be really wet, so we used this 5 gallon bucket to mix the potting mix and water.

Then we filled the wicking tubes, one at a time.

We put the wicking tubes into the pot with the soil base already in there. The bottom of the pot below the soil base will hold water. The wicking tubes will absorb water and wick it up to the soil above the base.

Once the wicking tubes and watering tube are in place, we began adding wet potting mix to the top.

And then, we got to plant our vegetables!

This particular pot will hold about 2 1/2 gallons of water in the base. The smaller pots hold less.


Then I took a few minutes to plant some marigold seeds to help keep the pests out of my veggies.


Thank you honey for helping me create my beautiful Arizona garden! It's the little things in life that make me happy! I love it!
No comments:
Post a Comment